FIMO Made by You

FIMO is exactly your thing: What used to be arts and crafts with dough, today is the realisation of one’s own ideas with professional modelling clay.
Children, beginners, hobby artists and professional artists can find their ideal modelling clay here.
FIMO from STAEDTLER makes you unique. Your creativity. In your colours. With your style. FIMO is as unique as you are.
On this page you will find everything you need to know about FIMO:
Don't miss any FIMO news!
Sign up for our FIMO newsletter and get updates on ✓ New products ✓ FIMO tutorials ✓ Colour mixing recipes and much more.

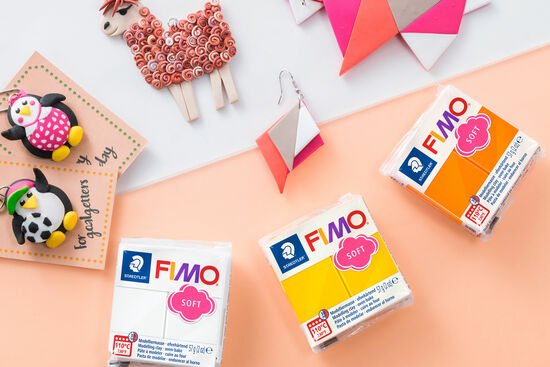
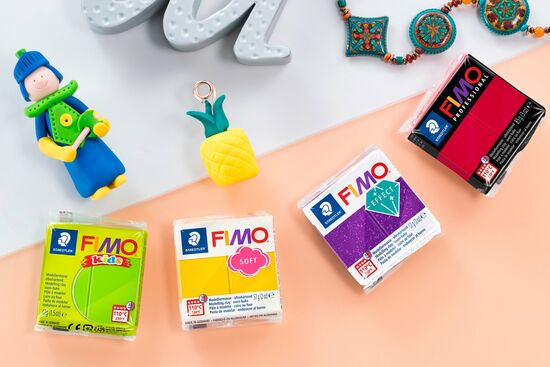
FIMO soft - this soft modelling clay can be immediately modelled and easily mixed – perfect for beginners and hobby artists.


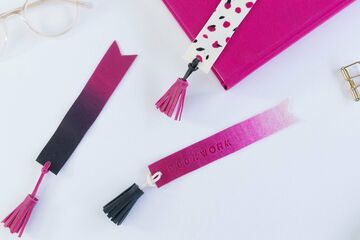
FIMO leather-effect looks and feels very similar to leather. This unique feature opens up entirely new possibilities for modelling.


With FIMO effect, your creativity is given a shine, shimmer or glitter. This modelling clay can be used to create entirely new trends in works of art.


FIMO kids is a particularly soft modelling clay that is specially made for children’s hands and allows the little ones to shape individual works of art in an instant.


Thanks to the highest quality, FIMO professional is suitable for delicate design at the highest level.
FIMO professional


FIMOair – this air-drying modelling clay is ready to use immediately and simply hardens in the air. The clay is easy to use for all users in art, school and hobby ► no bake. JUST MAKE.


More about the different FIMO modelling clays
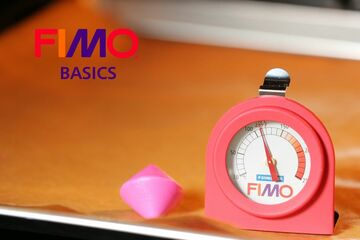
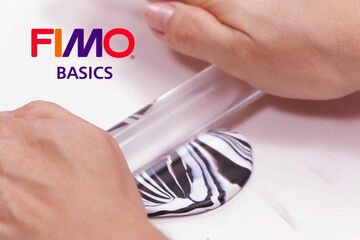
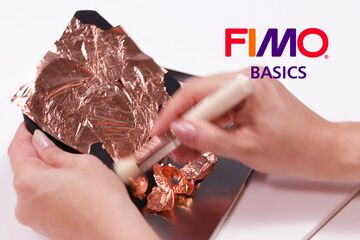
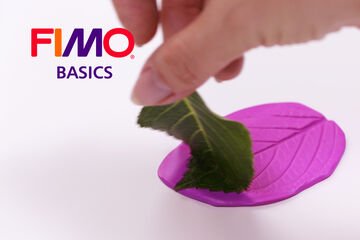
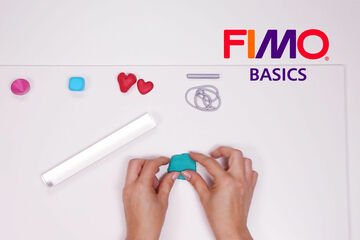
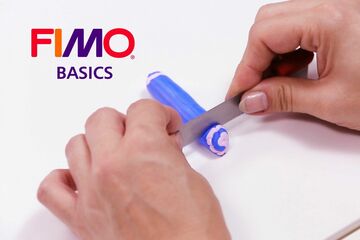
Discover our FIMO BASICS tutorials
Let yourself be inspired!
Make your accessories, home decorations or your new favourite piece of jewellery a reality. With FIMO, there are no limits to your creativity. Check out our inspiring tutorials:


You can find many more tutorials in our "Discover area"